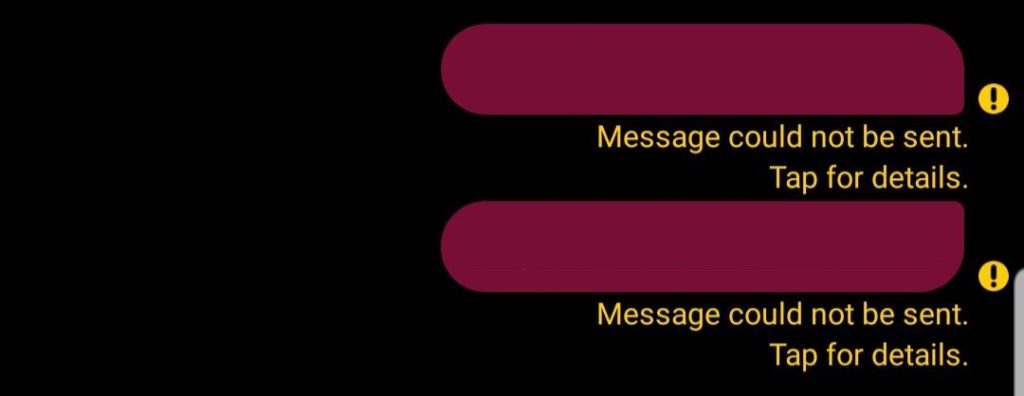
Are you getting a “Message could not be sent. Tap for details” error after sending a message to the contact in Messenger?
Messenger is a social messaging network developed by Facebook.
However, when users want to send a message to the person through the application, they encounter the “Message could not be sent. Tap for details” error and cannot message.
In this guide, we will provide suggestions on how to fix the Messenger “Message could not be sent. Tap for details” error.
- What is Messenger “Message Could Not Be Sent” Error?
- How To Fix Messenger “Message Could Not Be Sent” Error?
- Fix 1: Avoid Banned Words
- Fix 2: The User May Have Blocked
- Fix 3: Your Account May Be Restricted
What is Messenger “Message Could Not Be Sent” Error?

Encountering the Messenger “Message Could Not Be Sent” error is usually a result of forbidden link sharing.
There are many links that are banned by Facebook, and when shared, the request is blocked by not sending.
Also, some features of your account may be temporarily banned.
How To Fix Messenger “Message Could Not Be Sent” Error?
Under this topic, we made suggestions on how to fix the Messenger “Message could not be sent. Tap for details” error.
Fix 1: Avoid Banned Words
If you send a banned link or word to the person as a message, the message will be blocked by Facebook and will not be sent.
For this reason, you can send random words to check whether the message you sent is banned or not.
If you don’t think you’re sending a banned word or link, let’s move on to the next suggestion.
Fix 2: The User May Have Blocked
You cannot forward any messages with the other party blocking you.
For this reason, you may need to check if the user has blocked you.
If the user has blocked you, there is nothing you can do.
Fix 3: Your Account May Be Restricted
Facebook does not want the use of inappropriate behavior in any way.
The behavior policy controlled by the Facebook algorithm causes you to encounter various issues like this.
If you have acted inappropriately, you may be restricted by the algorithm for a short time.
For this, you need to check your account status in the settings.


