

Are you getting a Atomic Heart “Won’t Launch” issue?
Atomic Heart was released as an action role-playing game.
However, users who want to run the game state that they encounter the “Won’t Launch” or “Not Launching” problem.
In this guide, we will provide information on how to fix Atomic Heart “Won’t Launch” and “Not Launching“.
- Why Atomic Heart Won’t Start?
- How To Fix Atomic Heart Won’t Launch or Not Launching?
- Fix 1: System Requirement May Be Insufficient
- Fix 2: Verify Game File Integrity
- Fix 3: Update Graphics Driver
- Fix 4: Install VP9 Video Extensions
- Fix 5: Run as Administrator
- Fix 6: Add Game Folder as Exclude
- Fix 7: Turn off Graphics Card Overclocking
- Fix 8: Install .Net Framework
- How To Fix Atomic Heart Not Launching on Xbox App?
- Fix 1: Repair Microsoft Store and Xbox Game Bar
- Fix 2: Check Microsoft Services
- Fix 3: Delete Microsoft Store Local Cache Files
- Fix 4: Sign In to Microsoft Store and Xbox Account Again
- Fix 5: Update Date and Time
- Fix 6: Install All The Updates In Microsoft Store
- Fix 7: Update Your Operating System
- Fix 8: Uninstall And Reinstall Gaming Services
- Fix 9: Install Xbox Identity Provider
- Fix 10: Uninstall and Reinstall the Game
Why Atomic Heart Won’t Start?
Atomic Heart Won’t Start can happen due to many issues.
An outdated graphics card can create various problems like this.
An example of this is that the .Net Framework library is not installed or is running problematic.
Since Atomic Heart Won’t Start can happen due to many problems, we will try to solve it by talking about the basic suggestions.
How To Fix Atomic Heart Won’t Launch or Not Launching?
Under this title, we tried to solve it by giving suggestions on how to fix Atomic Heart Won’t Launch or Not Launching.
Fix 1: System Requirement May Be Insufficient
Your computer’s system requirement may not meet the game.
Therefore, we need to check the Atomic Heart minimum and recommended system requirements.
Minimum/Low Specs
| OS | Windows 10 (20H1 version or newer, 64-bit versions) |
|---|---|
| CPU | AMD Ryzen 3 1200 or Intel Core i5-2500 |
| RAM | 8 GB |
| GPU | 4 GB VRAM, AMD Radeon R9 380 or NVIDIA GeForce GTX 960 DirectX: Version 12 |
| DX VERSION | DX 12 |
| STORAGE | 90 GB HDD |
| NOTES | 30 FPS, 1920×1080 in low |
Recommended/High Specs
| OS | Windows 10 (20H1 version or newer, 64-bit versions) |
|---|---|
| CPU | AMD Ryzen 5 2600X or Intel Core i7-7700K |
| RAM | 16 GB |
| GPU | 8 GB VRAM, AMD RX 6700 XT or NVIDIA GeForce RTX 2070 |
| DX VERSION | DX 12 |
| STORAGE | 90 GB SSD |
| NOTES | SSD recommended, 60 FPS, 1920×1080 in ultra |
Check if your computer meets the system requirement we listed above.
If your computer meets the system requirements comfortably, let’s move on to our other suggestion.
Fix 2: Verify Game File Integrity
Loss or corruption in game files can cause us to encounter various errors like this.
Verifying game file integrity will help fix various in-game errors.
You can follow the step below for us to verify the game files.
File Verification for Steam;
- Run the Steam application.
- Access the library menu.
- Right click on the Atomic Heart game and access the “Properties” menu.
- Click on “Local Files” on the left.
- Click the “Verify integrity of game files” button and verify.
Wait until the verification process is complete. After the process is complete, run the game and check.
File Verification for Xbox Game Pass;
- Run the Xbox application.
- Right click on the “Atomic Heart” game under the “Installed” heading on the left.
- Then click “Manage > Files“.
- On the screen that opens, click the “Verify and Repair” button.
After the verification process is complete, run the game and check.
Fix 3: Update Graphics Driver
The fact that the graphics driver is not up-to-date causes the version to be unsupported for the newly released game and many errors are encountered in the game.
Therefore, we will need to check if the graphics driver is up to date.
You can follow the step below to check if the graphics driver is up to date.
If You Are Using AMD Graphics Card;
- Access the AMD Radeon Software site by clicking the link I left on the side. Click to access AMD Radeon Software site.
- Select the “Graphics” option in the link, select the video card model, and click the “Submit” button.
- Then download the driver and perform the installation process.
- Restart your computer after the installation is complete.
- Right click on the desktop and select “AMD Radeon Software“.
- Check if your graphics card driver is up to date in the application that opens.
- If a new update is available, download and install it.
If You Are Using NVIDIA Graphics Card;
- Access the Geforce Experience site by clicking the link I left on the side. Click to access Geforce Experience site.
- Click the “Download Now” button in the link and download the application and perform the installation process.
- After the installation is complete, run the application and register and log in.
- Click on “Drivers” at the top.
- Then click “Check for Updates” to check if your driver is up to date.
- If a new update is available, the current update version will appear.
- After downloading the current update version, perform the installation process and restart the computer.
After following the steps, run the game and check.
Fix 4: Install VP9 Video Extensions
You can fix the problem by installing VP9 Video Extensions.
You can follow the step below to install the extension.
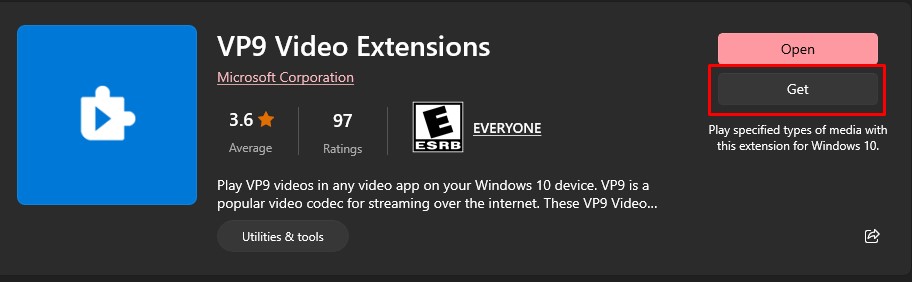
- Open Microsoft Store.
- Search by typing “VP9 Video Extensions” on the search screen.
- Then click the “Get” button and perform the installation process.
After the installation is complete, restart the computer and check.
Fix 5: Run as Administrator
Failure of Steam or Epic Games Launcher to run with administrator privileges can lead to various errors like this.
Before running the application as administrator, close it completely with the help of a task manager.
Then right click on “Steam” or “Epic Games Launcher” application and click “Run as administrator“.
After the application is run as administrator, you can open the game and check if the problem persists.
Fix 6: Add Game Folder as Exclude
Game files may be blocked due to Windows Defender.
We can use the exclusion plugin included in Windows Defender to prevent game files from being blocked.
- Type “Virus & threat protection” in the start search screen and open it.
- Click on “Manage Settings“.
- Then scroll down the menu and click “Add or remove exclusions“.
- Click the “Add an exclusion” button and select the “Folder” option.
- After this process, select the folder where the Atomic Heart game is installed and save it.
Verify the game’s file integrity after the process is complete. You can check step 2 to verify the file integrity of the game.
After the verification process is complete, run the game and check.
Fix 7: Turn off Graphics Card Overclocking
This recommendation applies to users who have already overclocked their graphics card.
If you have overclocked your graphics card with the help of MSI Afterburner, we recommend disabling it.
Follow the step below to disable graphics card overclocking.
- Run MSI Afterburner.
- Then set “Core Clock” and “Memory Clock” to “0“.
- Save by clicking the confirm button below.

After the process is complete, run the game and check.
Fix 8: Install .Net Framework
Since many games developed make use of the .Net Framework library, we need to provide control.
The lack of .Net Framework on the device can cause us to encounter various problems like this.
To install .Net Framework, you can download and install it by clicking the link listed below.
- Microsoft Visual C++ Redistributable (X86)
- Microsoft Visual C++ Redistributable (X64)
- DirectX End-User Runtime Web Installer
Click on the 3 links we left above and perform the download process.
After the download is complete, run the setup files and perform the installation process.
If it is already installed on your device, you can repair it by clicking the “Repair” button.
After the installation is complete, restart the computer and check.
How To Fix Atomic Heart Not Launching on Xbox App?
Under this topic, we have provided information on how to fix Atomic Heart Won’t Start or Not Launching issue on Xbox App.
Fix 1: Repair Microsoft Store and Xbox Game Bar
Problematic operation of Microsoft Store and Xbox Game Bar or corruption of hosted files can cause various error codes like this.
You can follow the below step for us to fix the corrupted files.
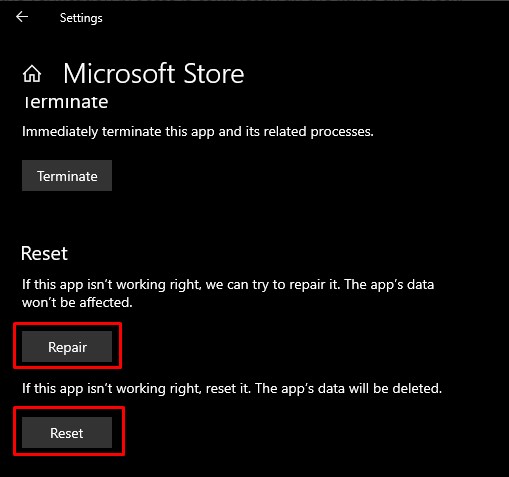
- Type “Microsoft Store” in the start search screen, right click and click “App settings“.
- In the new window that opens, click the “Repair” button.
- After the repair process is complete, click the “Reset” button below.
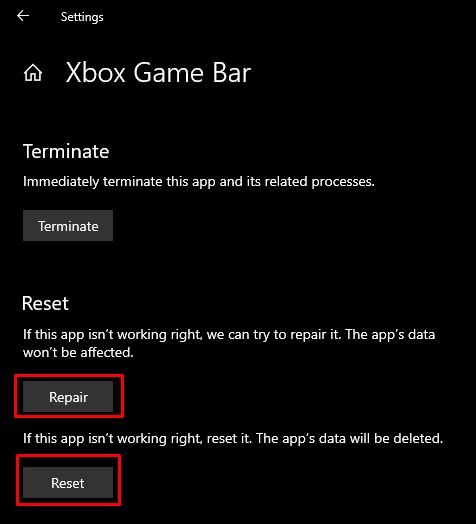
- Type “Xbox Game Bar” in the start search screen, right click and click “App settings“.
- In the new window that opens, click the “Repair” button.
- After the repair process is complete, click the “Reset” button below.
- After the repair and reset is complete, type “Windows Powershell” in the start search screen and run it as an administrator.
- Paste the following line of code in the command prompt window that opens and press enter.
- Get-AppxPackage -AllUsers| Foreach {Add-AppxPackage -DisableDevelopmentMode -Register “$($_.InstallLocation)\AppXManifest.xml”}

Then you can try to run the game.
Fix 2: Check Microsoft Services
You can resolve the error by starting the Microsoft services we have identified.
- In the start search screen, type “Services” and open it.
- Then double-click on the services we left below in order, set the “Startup Type” to “Automatic” and “Start” the “Service Status“.
- IP Helper
- Xbox Live Auth Manager
- Xbox Live Game Save
- Xbox Live Networking Service
- Gaming services
- Windows Update
- Microsoft install service

Fix 3: Delete Microsoft Store Local Cache Files
Problem with Microsoft Store cache files can cause various error codes like this.
You can clear Microsoft Store cache by following the below step.
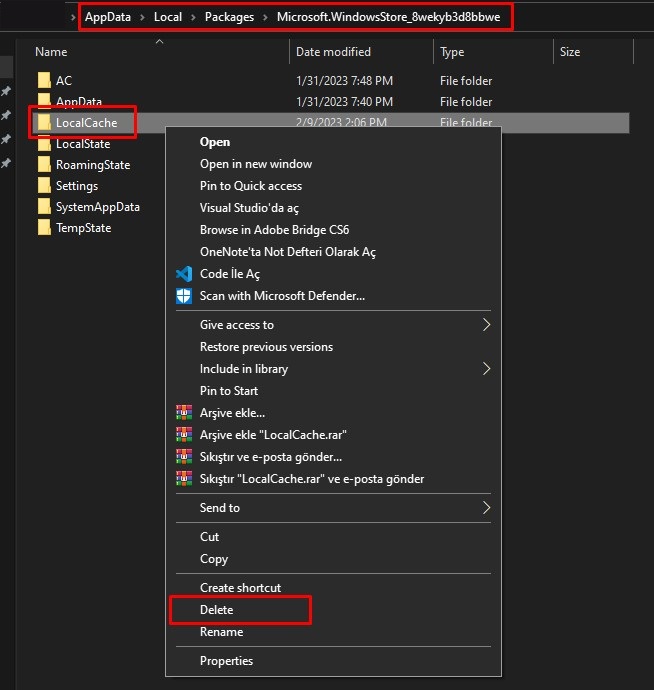
- Type “Run” in the start search screen and open it.
- Type “%localappdata%/Packages/Microsoft.WindowsStore_8wekyb3d8bbwe” in the box and click the “OK” button.
- Delete the “LocalCache” folder in the new window that opens.
After deleting the folder, you can check it.
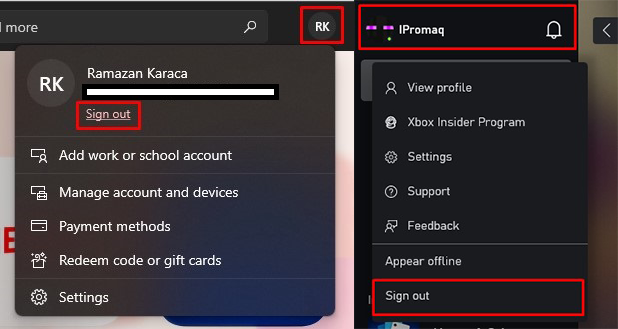
Fix 4: Sign In to Microsoft Store and Xbox Account Again
Failure of a Microsoft or Xbox account to be readable by the server can cause many error codes.
- Open the Microsoft Store app.
- Click on your “Profile” icon in the top right and click on “Sign Out“.
- Then sign in to your Microsoft account again.
After logging into your Microsoft account, let’s apply the same process to the Xbox account.
- Open the Xbox app.
- Click on your “Profile” at the top left and click on “Sign Out“.
- Then sign in to your Microsoft account again.
Fix 5: Update Date and Time
We can fix the error code encountered by updating the date and time.
- Type “Date and time settings” in the start search screen and open it.
- Turn off and on again the “Set time automatically” and “Set time zone automatically” options in the new window that opens.
Then you can check it by running the game.
Fix 6: Install All The Updates In Microsoft Store
We can fix the error code by updating all the apps installed in the Microsoft Store.
- Type “Microsoft Store” in the start search screen and open it.
- Click on “Library” in the lower left.
- Click the “Get Updates” button in the menu and scan it.
- After the scan is complete, click the “Update All” button to start the update.
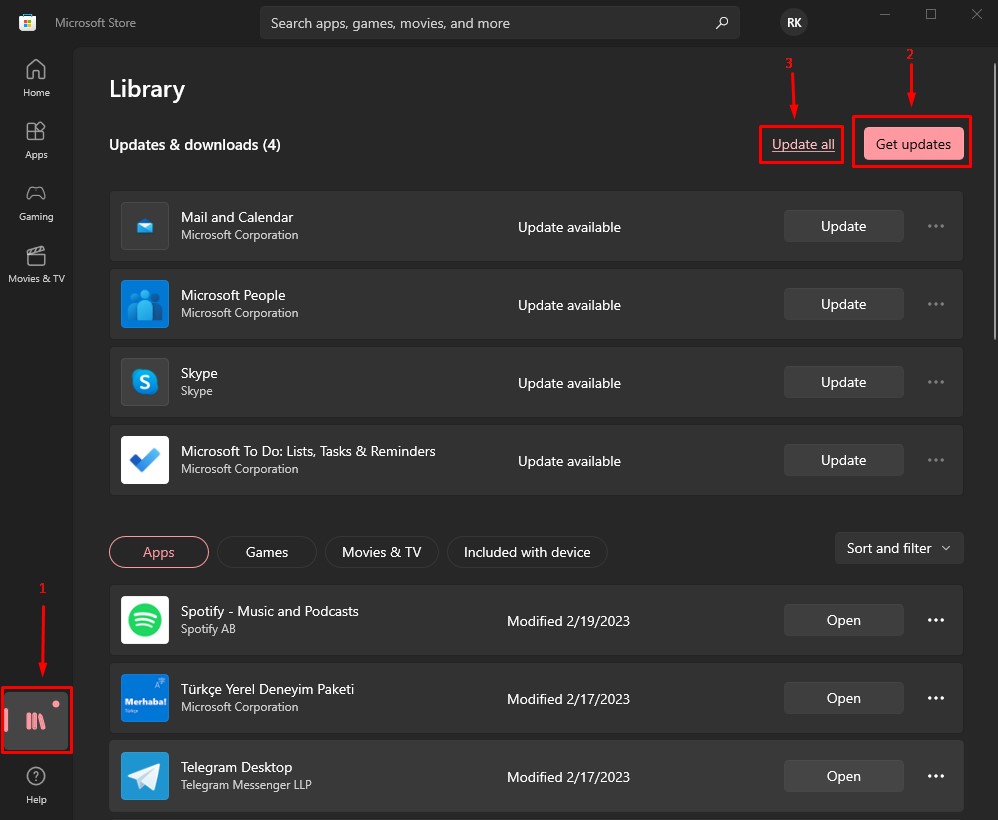
You can check after the update is complete.
Fix 7: Update Your Operating System
An outdated Windows operating system can cause you to encounter various problems like this.
You can check if your Windows operating system is up to date by following the step below.
- Type “Check for updates” in the start search screen and open it.
- Click on the “Check for updates” button on the screen that opens and start the scanning process.
If a new update is available, you can check by updating it.
Fix 8: Uninstall And Reinstall Gaming Services
Problematic operation of Gaming Services may cause you to encounter many errors.
You can repair Gaming Services by following the step below.
- Type “Windows Powershell” in the start search screen and run as administrator.
- Paste the following line of code in the command prompt window that opens and press enter.
- Get-AppxPackage gamingservices -allusers | remove-appxpackage -allusers
- start ms-windows-store://pdp/?productid=9MWPM2CQNLHN
- Let’s install “Gaming Services” by clicking the “Install” button in the new window that opens.
After Gaming Services is installed, you can check it.
Fix 9: Install Xbox Identity Provider
Not having Xbox Identity Provider installed can cause you to encounter many errors in Microsoft Store and Xbox services.
You can check if “Xbox Identity Provider” is installed by following the step below.
- First, access the Xbox Identity Provider link.
- Click the “Get in Store app” button on the screen that opens and click the “Open Microsoft Store” button in the warning that appears.
- If the “Install” or “Get” button appears in the new window that opens, click to perform the installation process.
Then you can check it by running the game.
Fix 10: Uninstall and Reinstall the Game
If none of these suggestions is the solution for you, you can uninstall and reinstall the game.
- Type “Add or remove programs” in the start search screen and open it.
- Type “Atomic Heart” into the search screen in the new window that opens.
- Then click “Atomic Heart“, click “Uninstall” button and uninstall it.
After the uninstall is complete, check by reinstalling the game.